
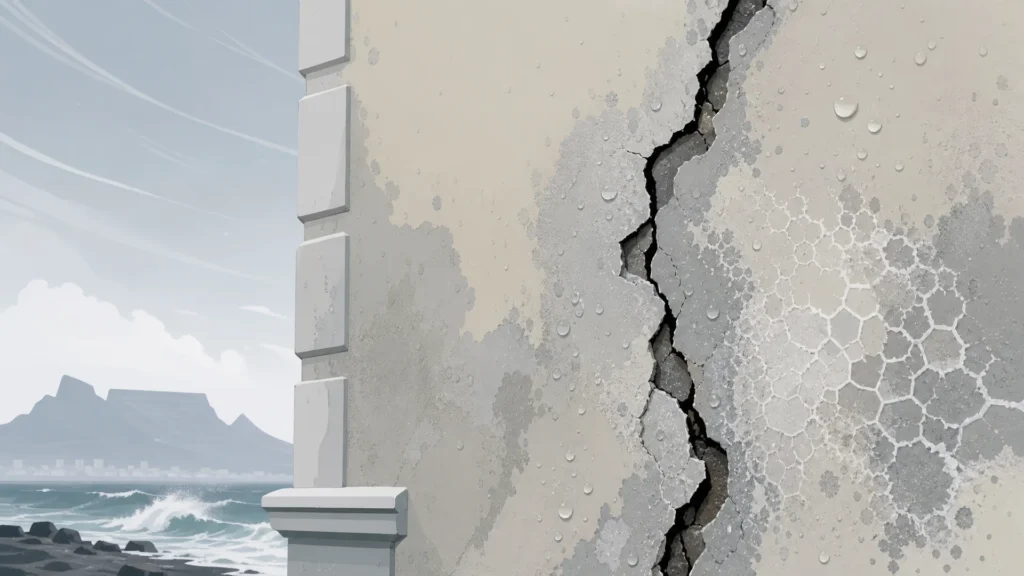
Cracked render repair in Cape Town is rarely just a cosmetic problem. A crack in your exterior plaster is an opening, one that Cape Town’s wet winters and salt-laden winds will exploit with surprising speed. Left unaddressed, cracked render becomes a damp entry point, and damp spreads far beyond the original crack before it becomes visible inside the building. This guide covers what causes render to crack here specifically, how to inspect the damage, when to DIY versus call a professional, and why waterproofing must follow any serious repair.
Why Cape Town’s Coastal Climate Cracks Render Faster
Cape Town’s environment is genuinely aggressive for exterior finishes. The combination of summer heat, south-easter winds, and sustained winter rainfall creates thermal and moisture cycles that few inland South African cities match.
The salt air, wind, and wet-season cycle explained
In Cape Town’s Atlantic Seaboard and False Bay coastal belt, salt-laden south-easter winds accelerate chloride penetration into render, weakening the cement matrix over repeated wet-dry cycles each winter season. Chlorides draw moisture into the render body, and as that moisture evaporates, it leaves crystalline salt deposits that expand inside the pore structure. At the surface this shows as efflorescence; internally, the pressure it creates is destructive.
Thermal cycling compounds this. Cape Town summer temperatures on exposed north-facing walls can swing 20°C or more in a single day. Render expands and contracts with each cycle, and where it cannot move freely, because there are no control joints or because adhesion to the substrate is failing, cracks form and widen.
The winter wet season then does the rest. Water enters hairline cracks, sustained saturation pressure builds (freeze-thaw is rare in Cape Town, but prolonged soaking is not), and by the time owners notice staining or bubbling paint, water has often been tracking behind the render for months.
Common Causes of Render Cracking in Cape Town Buildings
Understanding the cause of a crack is the single most important step in choosing the right repair. Treating a structural crack as a surface blemish is the fastest route to a repeat failure.
Structural movement vs. surface shrinkage cracks
Hairline shrinkage cracks, typically under 0.5 mm wide, shallow, and following no particular pattern, form as render dries and cures. They are normal in freshly applied cement render and are usually stable over time. In most cases, a high-quality exterior filler and a breathable masonry coating will manage them adequately.
Structural cracks are a different matter. These tend to be wider than 1–2 mm, often follow mortar joints or diagonal lines through the render, and may be accompanied by hollow-sounding sections when the wall is tapped. They indicate substrate movement: foundation settlement, thermal expansion of the masonry, or brick and block that has shifted slightly. Filling these without addressing the underlying movement produces a repair that fails again within one or two wet seasons.
Poor original application and render mix failures
Older Cape Town homes built with a high-lime render mix, common in properties constructed before the 1980s, are particularly prone to delamination once the lime carbonates and the render loses adhesion to the brick substrate beneath. Tapping these walls produces a hollow drum sound over large areas, a clear sign the render has separated from its base.
Beyond mix composition, poor original application covers a range of problems: render applied too thickly in a single coat, insufficient key on smooth brick surfaces, or substrate that was too dry or too wet at the time of application. These failures often only become apparent years later as the bond weakens gradually. Weatherproofing older Cape Town homes requires correctly diagnosing these legacy issues before specifying any repair.
How to Inspect Exterior Render Damage: A Homeowner’s Guide
A careful visual and physical inspection can tell you a great deal before any contractor arrives. Work methodically around the building in good daylight.
Signs that cracked render is letting water in
Tap test: Use a wooden handle or rubber mallet and tap the render surface systematically. A solid sound is good. A hollow or drum-like sound means the render has debonded from the substrate beneath, water can track behind this area even where no visible crack exists.
Crack width assessment: A standard credit card edge is roughly 0.8 mm thick. If a crack accepts this edge, treat it as significant. Cracks wider than 2 mm demand professional assessment.
Efflorescence and staining: White salt deposits on the render surface are a direct sign that water is moving through the wall body and carrying dissolved minerals to the surface. Brown tide marks or rust streaks indicate water movement near embedded metalwork.
Interior correlation: If any internal wall adjacent to the affected render shows damp patches, bubbling paint, or a musty smell, the render failure is already driving active damp ingress. This is beyond DIY territory.
Wilcote’s teams working on Cape Town exterior renovations regularly find that cracked render identified during a painting preparation inspection is concealing active damp penetration, problems that a coat of paint alone cannot resolve. This is precisely why surface preparation matters before repainting render is never a step to skip.
Cracked Render Repair Options: DIY Patch vs. Professional Render Repair vs. Full Replacement
The right repair depends on crack type, extent of damage, and whether damp is already present.
Render repair vs. replacement cost: what drives the decision
Small isolated hairline cracks, stable, shallow, and dry, are appropriate for a DIY repair using a polymer-modified exterior filler or flexible crack filler rated for outdoor use. Apply, allow to cure fully, prime, and coat with a breathable masonry paint. This is a low-cost fix that performs well when the crack genuinely is superficial.
Professional render repair suits cracks that are wider, recurring, or accompanied by hollow sections. A licensed plasterer will cut out the affected area, prepare the substrate, apply a bonding agent, and reinstate the render in correctly proportioned coats. The cost is higher than a DIY patch but substantially less than full re-rendering, and the durability is far greater.
Full render replacement is the right choice where delamination covers a large proportion of the wall, where there is widespread structural cracking, or where the original render mix has failed systemically. On pre-1980s Cape Town stock, this scenario is more common than owners expect.
Waterproofing as part of render repair, the step most owners skip
Repairing render without waterproofing the repaired surface is one of the most common and costly oversights in Cape Town property maintenance. Cape Town’s winter rainfall regularly exceeds 100 mm per month across June and July, and an unprotected render face, even a freshly repaired one, absorbs water under sustained driving rain.
After any professional render repair, the correct sequence is: cure the render fully, then apply a compatible waterproofing system. On flat roof junctions and parapet walls, a torch-on membrane or liquid-applied membrane is standard. On vertical wall faces, a breathable silicone-modified masonry coating or crystalline waterproofing treatment is appropriate. For a detailed comparison, torch-on versus other waterproofing methods covers the trade-offs between systems.
Skipping this step means the repaired area will absorb water through the first winter, the new repair bond will be compromised by moisture, and the cycle of cracking begins again. The waterproofing follow-up is not optional, it is the reason the repair lasts.
For a comprehensive view of Cape Town waterproofing and wet-season protection, understanding how render repair and waterproofing form a single integrated system, rather than separate jobs, matters before any scope is agreed.
Preventing Render Cracks in Cape Town: Long-Term Building Envelope Health
Prevention is significantly cheaper than repair, and several measures reliably reduce crack incidence on Cape Town buildings.
Control joints: Control joints should be placed no more than every 3–4 metres in a cement render panel, a specification frequently omitted on renovations and extensions across the Cape Peninsula, leaving large unbroken render faces vulnerable to thermal expansion cracking. Retro-fitting control joints is possible but adds cost; specifying them correctly at the outset costs almost nothing.
Render specification: In coastal zones, use a sand-cement render with a polymer additive that improves flexibility and adhesion. Avoid excessively rich cement mixes, higher cement content increases shrinkage, not strength. Match the render strength to the substrate: a strong render on a weak block substrate will always crack at the interface.
Breathable coatings: A silicone-based or mineral masonry coating allows vapour to pass through the wall while repelling liquid water. This prevents the moisture build-up that drives salt crystallisation and pressure damage. Repaint on a scheduled cycle, typically every 5–7 years in coastal Cape Town, rather than waiting for visible failure.
Scheduled inspections: An annual visual inspection before the wet season (April–May) catches emerging cracks before they become water entry points. The cost of a tube of filler and an afternoon’s attention is orders of magnitude less than a damp remediation project.
Exterior renovation transformations that boost Cape Town property value demonstrate how consistent envelope maintenance, including render condition, directly supports property value over time.
When to Call a Professional for Cracked Render Repair in Cape Town
Some render problems are straightforward DIY tasks. Others have consequences that make professional assessment non-negotiable. Call a licensed contractor when you see any of the following:
- Cracks wider than 2 mm, especially diagonal or stepped cracks following mortar joints, these indicate structural movement, not surface shrinkage.
- Large hollow areas on tapping, covering more than a square metre, delaminated render can fall away without warning and conceals water tracking behind it.
- Render cracking near roof junctions, parapet walls, or window reveals, these are high-risk damp entry points. On commercial and industrial buildings in Cape Town’s northern suburbs, render failure near parapet walls and roof junctions is a leading cause of recurring interior damp complaints, because water tracks behind the render rather than through visible cracks.
- Any internal damp signs correlating with the cracked render location, at this point you need rising and penetrating damp solutions for Cape Town walls as well as render repair.
- Recurring cracks in the same location after previous repairs, this points to an unresolved substrate or movement issue that requires diagnosis, not just re-filling.
For facility managers and owners of industrial building maintenance in Cape Town, render failure on large panel facades or near roof penetrations carries occupier liability implications that make early professional intervention especially important.
Wilcote provides render inspection, repair, and waterproofing as a single integrated service across Cape Town, covering residential, commercial, and industrial properties. If your building shows any of the signs described above, contact our team for a professional assessment and repair quote. Working with licensed Cape Town renovation contractors ensures the repair is correctly specified, the waterproofing is applied in the right sequence, and the result lasts through multiple Cape Town winter seasons, not just one.