
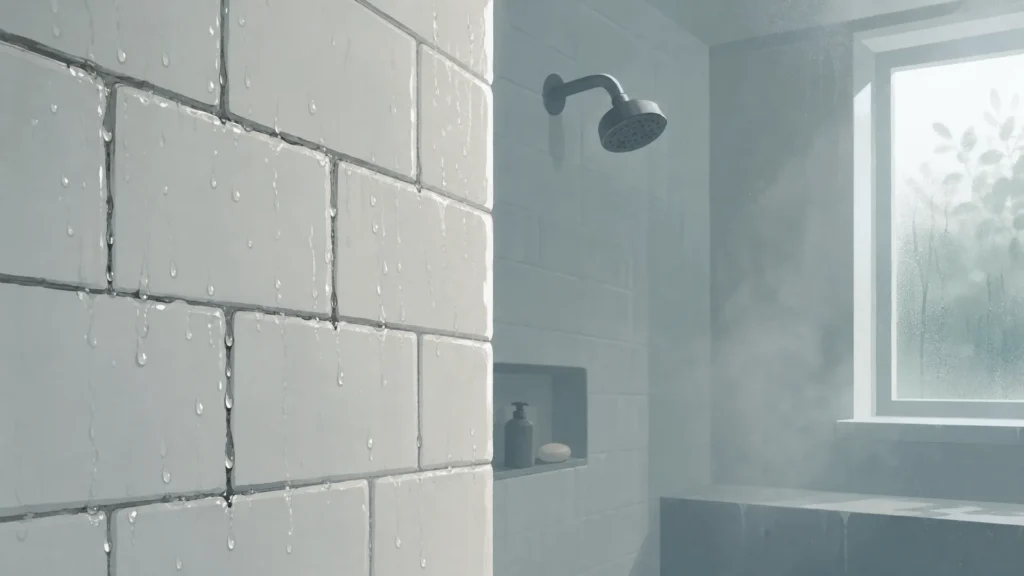
Water is the quiet enemy of every Cape Town bathroom. It seeps into grout lines, hides behind tiles, and works its way into ceilings long before a homeowner notices anything wrong. Bathroom waterproofing in Cape Town deserves its own approach, separate from roof or exterior waterproofing, because bathrooms combine constant moisture exposure with the region’s humid, salt-laden air. This guide walks through the methods that actually protect a bathroom, the mistakes that cause failures, and how to plan waterproofing correctly if you’re renovating.
Why Bathroom Waterproofing in Cape Town Needs Special Attention
Most articles about waterproofing in Cape Town focus on roofs, parapets, or torch-on membranes for flat roofs and balconies. Bathrooms are different. They face daily exposure to hot water, steam, and standing moisture, in a room with limited airflow. That combination breaks down sealants and grout far faster than in dry, well-ventilated spaces elsewhere in the home.
How Cape Town’s Humidity and Coastal Climate Affect Bathrooms
Cape Town’s winters bring extended periods of high humidity, and its coastal position adds salt-laden air into the mix. Together, these conditions accelerate the breakdown of cement-based grout and silicone sealants around showers and baths. Wilco’s renovation and waterproofing crews routinely find that this high winter humidity and coastal salt air wear down grout faster than in drier inland regions of South Africa. Salt air is mildly corrosive, and it degrades the flexibility of sealant joints over time. That’s why sealant that lasts for years in Johannesburg may need attention sooner in a Cape Town bathroom.
Condensation compounds the problem. When steam from a shower has nowhere to escape, it settles on tile surfaces, collects in grout lines, and eventually finds its way into wall cavities. Over months, this slow, repeated exposure does more damage than a single leak ever could. It happens invisibly, behind the tile, where nobody’s watching.
Shower Waterproofing Cape Town Homeowners Can Rely On
Shower waterproofing is not the same job as waterproofing the rest of the bathroom. A shower recess or shower pan holds water directly against its surfaces for extended periods, several times a day in most households. That constant contact means it needs a dedicated waterproofing system, not just a well-grouted tile job.
Waterproofing specialists generally recommend a dedicated waterproof membrane installed under the tiles in showers and shower pans, rather than relying on sealant at the joints alone. Grout and sealant are useful as a first line of defence, but neither is truly waterproof over the long term. A liquid-applied or sheet membrane, installed correctly beneath the tile bed, forms the barrier that actually stops water reaching the structure.
Shower Pan and Recess Sealing Methods
A proper shower waterproofing job in Cape Town typically involves a bonded waterproof membrane applied to the shower floor, walls to shower height, and the shower pan itself before any tiling begins. This membrane wraps up walls and over any step-downs or hobs, with reinforced detailing at corners and where the floor meets the wall. The floor drain also needs to be integrated into the membrane with a purpose-made flange or clamp, so water can’t track underneath the tile bed and find a path into the subfloor.
Common Shower Waterproofing Mistakes
The most common failure points in Cape Town bathrooms are corners, wall-to-floor junctions, and floor drains. These are the areas installers most often rush, or seal with sealant instead of membrane, assuming grout will do the rest of the work. A poorly sealed shower pan in an older Cape Town home, particularly one built before 2000, is a common culprit behind ceiling stains in the room below. Homeowners frequently mistake this for a roof leak, when the actual source is a shower recess that was never properly waterproofed beneath the tiles.
Bathroom Tile Sealing and Grout Waterproofing Cape Town Techniques
Tiles themselves are largely waterproof, but grout is porous by nature. It’s designed to bond and fill joints, not to repel water indefinitely. That porosity is exactly why bathroom tile sealing and ongoing grout waterproofing matter in Cape Town homes, where humidity keeps moisture in contact with grout lines for longer stretches of the year.
Choosing the Right Sealant for Tile and Grout
Not all sealants perform the same way in a humid bathroom. Penetrating sealers soak into the grout and repel water from within, while topical sealers sit on the surface and need more frequent reapplication. For Cape Town bathrooms, a penetrating sealer generally holds up better against repeated humidity cycles, because it doesn’t wear away as quickly under foot traffic or cleaning. Silicone sealant, rather than acrylic caulk, should be used at movement joints such as where the bath meets the tile or where two walls meet, since silicone flexes without cracking as the building settles.
How Often to Reseal Grout in Humid Bathrooms
Grout in a Cape Town bathroom generally needs resealing more often than the manufacturer’s standard guidance suggests for drier climates, given the added humidity load. As a practical rule, sealant at shower joints should be checked every year and resealed as soon as cracking, discolouration, or gaps appear. Grout sealer on tiled surfaces should be reapplied on a regular cycle rather than left indefinitely. Sealed grout that shows no visible wear can still have lost its water resistance well before that
.
Preventing Bathroom Water Damage and Dampness
Home inspectors and insurers consistently point to bathrooms and other wet areas as the most common source of internal water damage claims in residential properties, ahead of roof leaks. That’s a significant point for homeowners who assume their biggest risk is the roof. In practice, the room generating daily steam and standing water is often the bigger long-term threat to the structure.
Warning Signs of Hidden Water Damage
Several signs point to water getting past a bathroom’s defences before any visible leak appears. Watch for tiles that sound hollow when tapped, grout that has darkened or crumbled, a persistent musty smell, bubbling or peeling paint on a ceiling below the bathroom, or skirting boards that feel soft near the bathroom wall. Any one of these is worth investigating before it becomes a larger repair.
Ventilation and Condensation Control
Good extraction matters as much as good sealing. A bathroom without effective ventilation traps steam against tile and grout surfaces for longer after every shower, which speeds up the exact deterioration that waterproofing is meant to prevent. An extractor fan that vents outside the building, rather than into the roof cavity, makes a real difference in Cape Town’s humid months. Where dampness is showing up on bathroom walls beyond the wet areas, it may point to a broader issue, and it’s worth looking at solutions for rising and penetrating damp as a related concern.
Waterproofing During a Bathroom Renovation Project
Waterproofing has to happen before tiling, not after. This is one of the most common questions homeowners ask, and the answer is straightforward: the waterproof membrane goes down on the substrate first, is left to cure, and only then does tiling begin over it. Tiling first and hoping sealant will compensate later is a shortcut that tends to fail within a few years.
Anyone comparing methods for their project can look at a broader comparison of waterproofing methods to understand how bathroom membranes relate to other approaches used around the home, including torch-on waterproofing for wet seasons on flat roofs and balconies.
Waterproofing Checklist Before Retiling
Before tiles go down, confirm the substrate is sound, clean, and properly sloped toward the drain. Apply the waterproof membrane to the floor and up the walls to at least shower height, with extra reinforcement at corners, the floor-to-wall junction, and around the drain. Let the membrane cure fully, then flood-test the shower floor if possible before tiling begins. Only once that’s confirmed should tiling and grouting proceed. Homeowners planning a full remodel may also want to look at bathroom renovation ideas for humid climates to plan waterproofing and design together from the outset, rather than treating them as separate jobs.
Long-Term Costs: Waterproofing Investment vs Repair Bills
Waterproofing done correctly the first time is a modest cost measured against the alternative. Re-tiling and re-grouting a shower recess after water damage typically costs several times more than applying a waterproof membrane correctly during the original build or renovation. That’s before accounting for repairs to the ceiling below, damaged skirting, mould remediation, or structural drying if water has been tracking into the subfloor for months unnoticed.
Proactive waterproofing is, in effect, an insurance policy against a much larger bill later. Homeowners budgeting for a bathroom project can find it useful to think about waterproofing alongside other cost planning, using a resource like budgeting for a renovation by tier as a general reference point for how upfront quality work compares to reactive repairs down the line.
For anyone noticing early warning signs, or planning a renovation, the smarter move is to get the waterproofing assessed before problems set in rather than after. Wilco Cape Town, part of the wider network of licensed home renovation contractors in Cape Town, offers a free bathroom waterproofing inspection and quote, giving homeowners a clear picture of where their bathroom stands and what it would take to protect it properly.